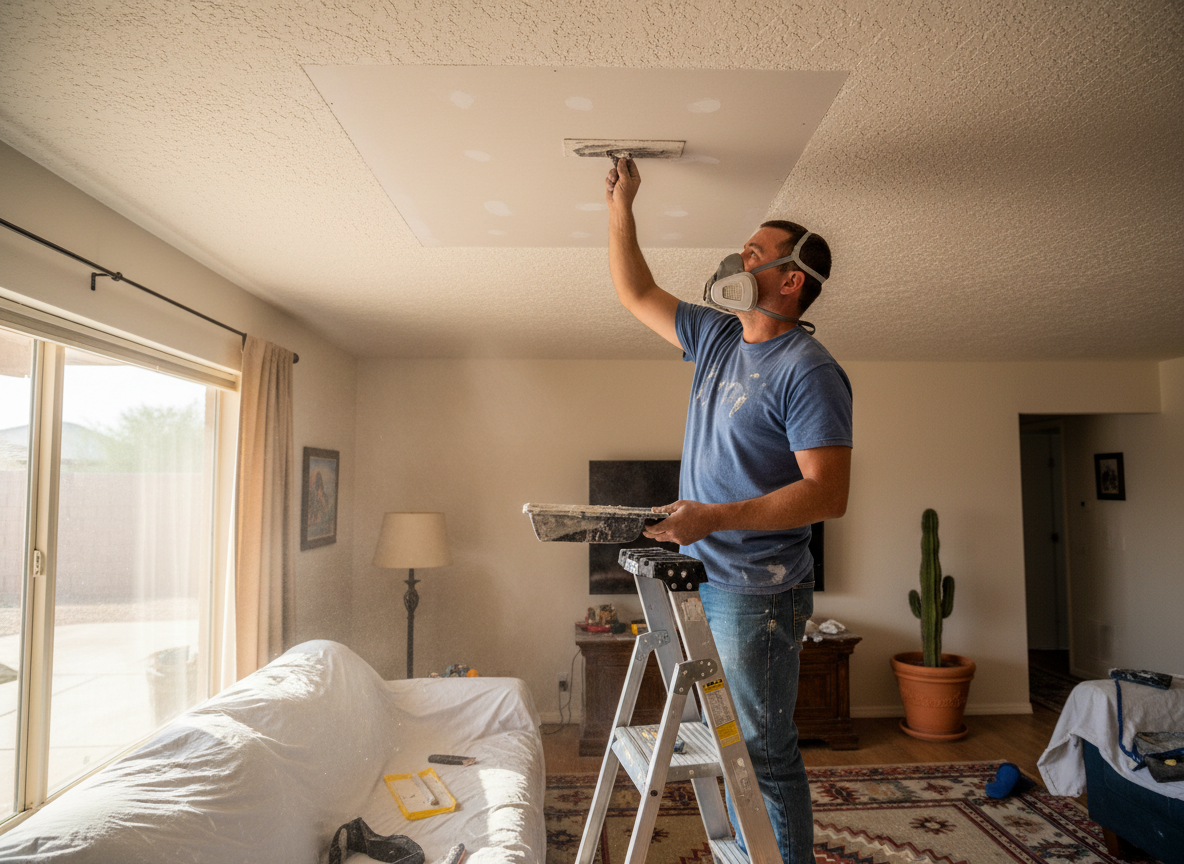
Gilbert sits in Maricopa County where extreme summer heat and monsoon moisture cycles stress ceiling drywall more than most homeowners expect. Homes in Power Ranch and San Tan Ranch often show seam separation or sagging after roof or AC condensate leaks because the original 1/2-inch panels were hung without sufficient backing in vaulted areas. Repair requires matching both texture and the slight movement that occurs when temperatures swing 40 degrees between day and night.
Downtown Gilbert and Layne Heights contain a mix of 1990s and early-2000s construction where popcorn ceilings were common. Removing water-damaged sections without disturbing the surrounding texture demands specific skim-coat techniques and fast-setting compounds that set before the dry air pulls moisture out too quickly. We also check for mold growth above the drywall because the combination of roof penetrations and irrigation overspray creates hidden pockets that standard visual inspections miss.
Nearby cities like Chandler and Queen Creek share the same soil and climate conditions, so the same repair protocols apply when we cross into those areas. Proper taping with fiberglass mesh instead of paper prevents re-cracking when the house expands again in the next heat wave. Every ceiling repair includes a check of the attic insulation and ventilation because poor airflow accelerates future damage in this climate.
Technician insight
In Gilbert, the thing that catches most people out with Drywall Ceiling Repair is how quickly monsoon moisture finds its way through roof penetrations or AC drip pans in 1990s homes in Power Ranch and Agritopia, then hides above the drywall until the next heat wave makes the sag obvious.
Power Ranch Ceiling Sag After Monsoon
A homeowner in Power Ranch noticed a soft spot above the kitchen after heavy rains. We found the leak originated from a roof vent boot that had cracked from UV exposure. After drying the cavity and replacing the affected drywall panel with proper tape and texture match, the ceiling remained stable through the following summer.
How it works
- 1
Site Assessment
Inspect the ceiling from below and above when attic access exists, identify leak source, and mark the full extent of damage in neighborhoods such as Agritopia or Heritage Court.
- 2
Containment and Removal
Isolate the work area, remove damaged drywall sections, and dry any wet insulation or framing before proceeding.
- 3
Structural and Moisture Check
Verify joist integrity, treat any mold, and confirm the roof or AC line leak has been addressed by the appropriate trade.
- 4
Patch and Finish
Install new drywall, tape with fiberglass mesh, apply texture to match existing finish, and prime for paint.
- 5
Final Walkthrough
Review the repair with the homeowner and confirm no remaining soft spots or texture mismatches.
Pricing
Pricing varies by access difficulty, size of damaged area, and whether attic work or mold treatment is required.